
3D Printing transparent windows
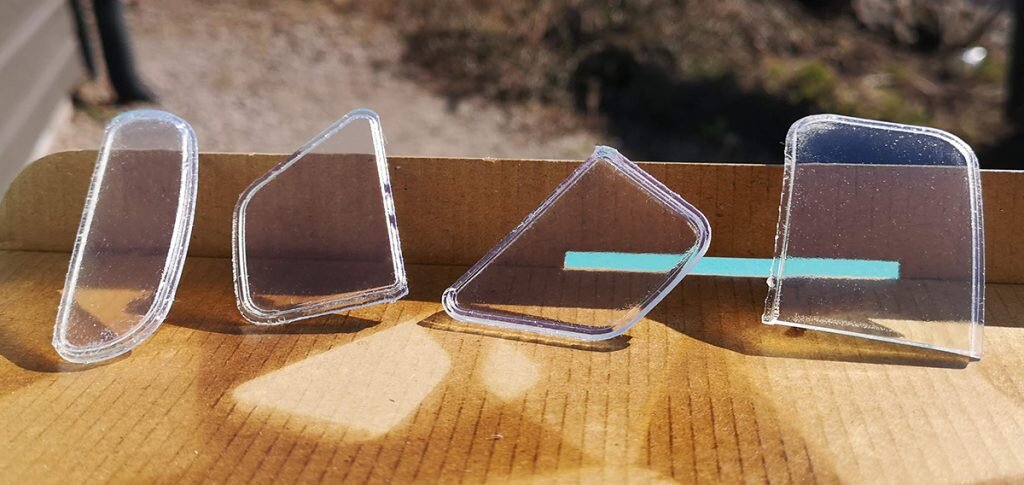
Using SLA/DLP 3D Printing technologies and these steps will get you 3D Printing transparent windows and other see-through objects.
I’ve explored 3D Printing transparent windows and transparent 3D prints before (this tutorial) and wanted to revisit it with SLA.
In my case, this was all produced with a Formlabs Form 2 SLA 3D Printer.
3D Printing with SLA and applying clear coating will get you an even better transparency, compared to ColorFabb XT that I used in the previous guide.
The main reason for this improvement is the ability for resin to print clear and with finer layers. The bonding between layers is also much better for transparency.
What we need to get going:
Any SLA or DLP 3D print with a Clear Resin.
UV-resistent Clear-Coating (transparent) spray
1500+ grit wet sandpaper (will help remove layer lines)
Stand-offs to separate your print from a background
Disposable gloves to protect your hands
Well-ventilated area (preferable outside)
Sand and polish your 3D Print
The first step is to really sand down any imperfections left from the 3D Printing process.
For me, when 3D printing transparent windows I had to orientate them in such a way that I had supports covering the edges and some of the windows. When removing these supports you’re usually left with a small dent that needs to be sanded away.
The sanding also helps removing any of the small layer lines that can still be visible when using SLA 3D Printing.

Don’t be alarmed if your 3D-print is starting to look a bit white/foggy. This will be resolved later.
In my case, I didn’t have any high-grit wet sandpaper, so I actually ended up using rough paper. It worked, but took way to much time!
Before you continue, I would just dip the model in Isopropyl alcohol or rinse it off with water.
Just make sure it’s dry before spraying!
Applying Spray Coating
The final step is to carefully spray a few coats of clear coating on the model to really get that last finishing.
Spray according to description of your spray bottle, but be sure to get both sides of your window! This will greatly increase the effect.
I recommend using some sort of small stand offs (like toothpicks) to elevate your model and make sure it can be placed on something that wont damage the surface before it’s cured.

