
How to run 12V fan on 24V 3D printer
If you want to run fans or components using 12V on 24V 3D Printer you might find yourself in a pickle!
A lot of 3D printers run 24V systems to help the stepper motors perform tougher tasks and run more silent. This in turn causes issues when you wan’t to start modding your 3D Printer and run 12V on 24V 3D Printer!
First of all, if you’re not comfortable to solder, you shouldn’t continue with this guide. And please make sure you double check what voltage your components are running in the machine, and in the parts you wan’t to add!
If any of the words are difficult to understand, search for it on our 3D Printer terminology and explanations page.
What parts you need
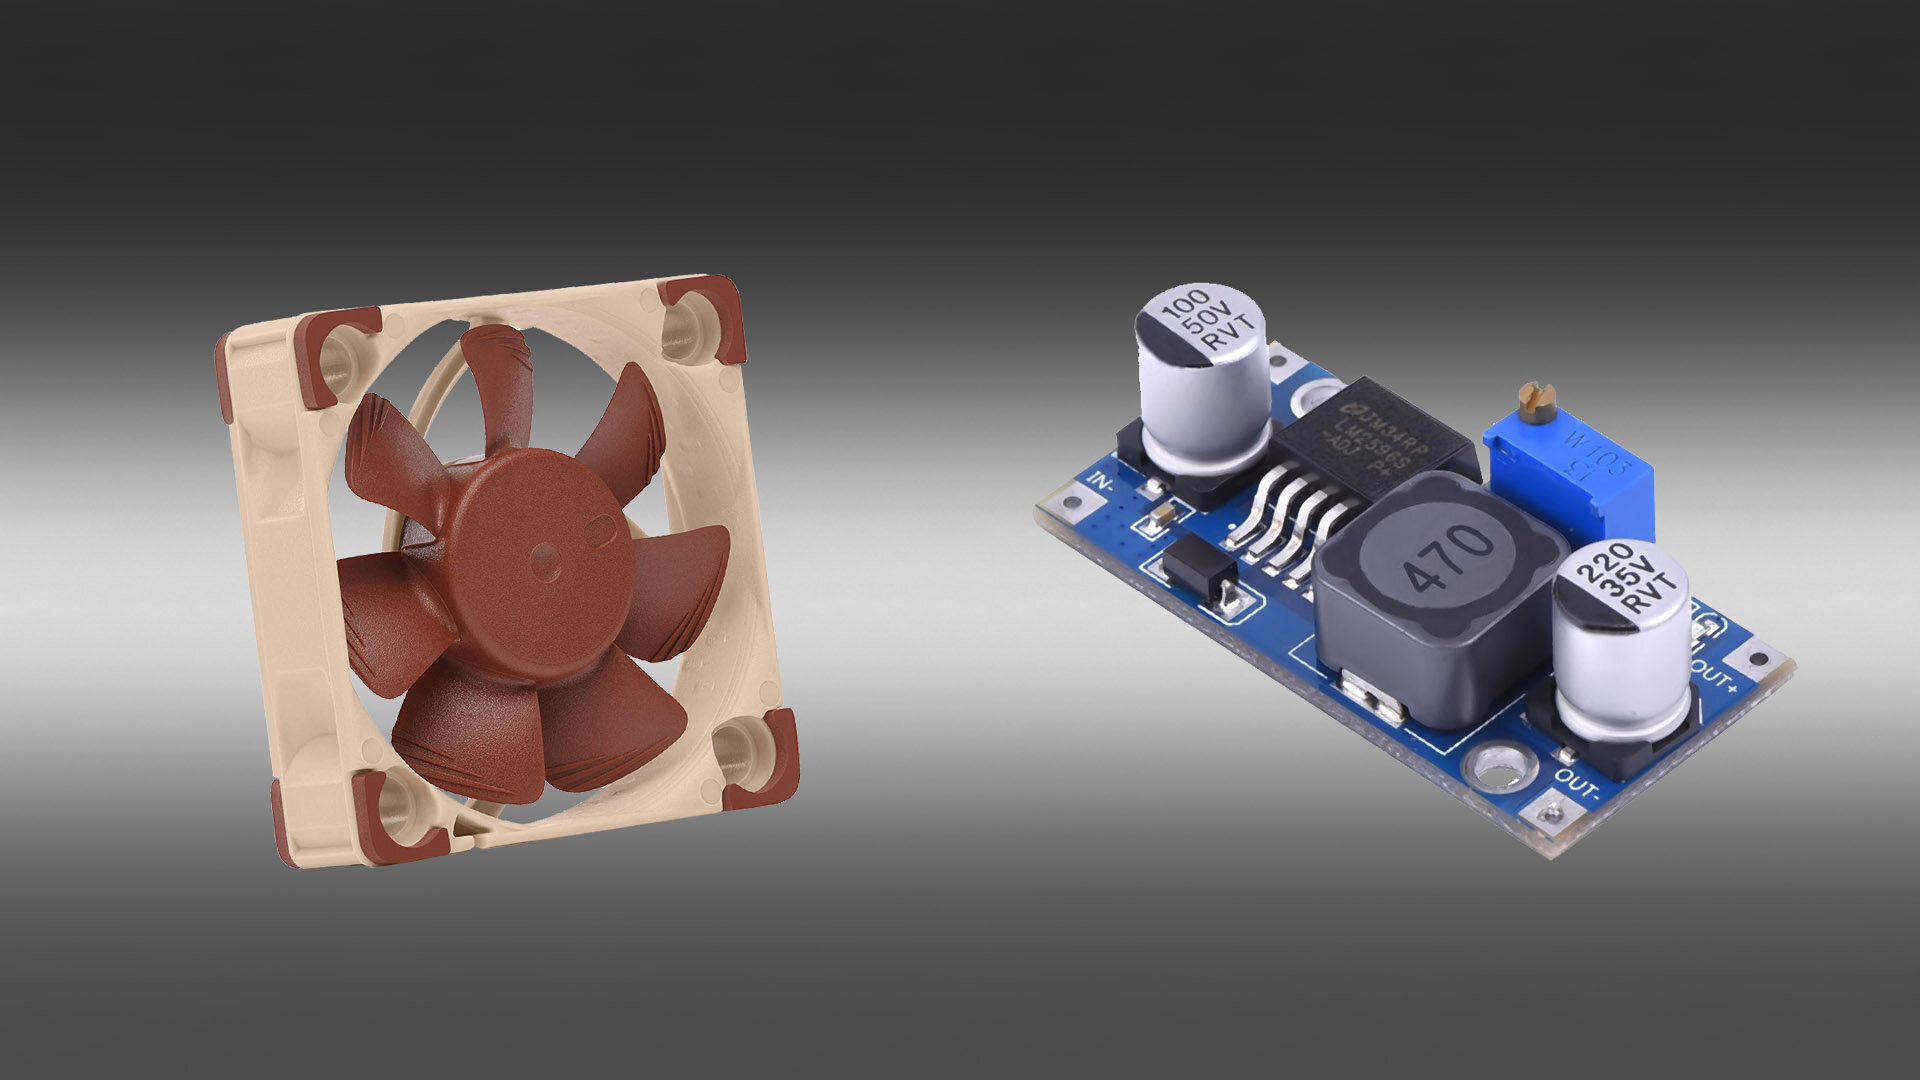
To get started you need two things. A quiet 12V fan that fits your needs. Below I’ll list the more common fan sizes on 3D-printers. Mostly those are 40x40x10mm for extruders but make sure you measure whatever fan you want to replace!
Noctua is a popular brand among PC-enthusiasts due to their low noise and quality. This is also one of the most sought after brands for 3D printing as well.
You also need some sort of step down module, taking that 24V down to 12V. An adjustable is even better as this can lower your RPM easier if needed (below 12V).
I recommend this LM2596 DC to DC Step Down Module that will cost you roughly USD $11 for a 6-pack. You can of course also go ahead with a single unit here, but I expect you to keep adding fans, LEDS and other things running lower voltages!

Tools needed
To perform the 24v to 12v modification you also need a soldering Iron and a voltage meter (multimeter). This is pretty common equipment and you can probably borrow from a friend if you don’t already have some!
You also want some cables (around 1mm2 should be plenty as we’re running very low voltage and current). Add some cable heat shrink tubes and you’re all set!
First step to running a 12V fan
Locate the cables and finally the connector for the fan you want to replace on the motherboard. You will be re-using the connector (by clipping it off) so make sure you mark the positive side!
As our LM2596 will generate heat when stepping down the 24V to 12V we want to place it somewhere between the Motherboard and the actual fan where we have airflow.
Usually your 3D Printer will have a fan cooling the motherboard, so placing the LM2596 in the airflow is a great idea!
Even if you are replacing the motherboard fan with a 12V you can place that behind it’s on fan!
Start cutting cables!
When you’ve located the fan, marked the positive and negative sides of the cables you want to cut the fan-cable where you wan’t to mount the LM2596 module. Just make sure you have enough cable to solder the new 12V fan to the module, or have cables to extend in between.
IF you need to extend your cables to the new fan, mount it and route the cables to where you want to mount the LM2596 module. Add 3-5cm for your soldering.
Soldering the connections and adjusting voltage.
The LM2596 module is marked with In and out power, so make sure you connect the 24V motherboard (and the old fans connector + cables) to the In side on the module by soldering.
Before soldering the out-side to the new fan (or cables extending to the fan) you wan’t to connect your multimeter and set it to measure DC-voltage. I’d say set it to 200V as the module can output more than the usual 20V that multimeters measure.
Turn on the printer (make sure nothing’s shorting!)
Start turning the adjustment pin on the module and read the voltage on your multimeter. Adjust your multimeter down to 20V when you’re surely below 20V.
Adjust the Step down module so you see 12V or just below. Keep on for a minute to make sure it’s still 12V.
Turn off the printer and solder the new fan to the output of the LM2596.
A good tip is to measure the output on the LM2596 once more when your fan is connected, just to verify the voltage again.
Double check the heat!
Since all the soldering is done and you should now have a 12V fan running smoothly, it’s time to start the 3D Printer and run the fan (either via gcode or just loading filament/printing).
After a minute or so, check the LM2596 module and see how hot it is. If you mounted it correctly with airflow, it should be a bit warm, but not too hot to touch.
If it’s too hot you need to cool it, usually via airflow, but you could also be running a crazy-heavy fan that just pulls to much power. The LM2596 is rated for 3A, which is plenty considering a 40x40x10mm noctua fan runs around 0,06A.
Keep adding mods!
Now that you can run 12V on 24V 3D Printer you can use the remainder of LM2596 modules to step down to 12, 5 or even 3,3V for using other components like LEDs and things!
Just make sure you’re not pulling more than 3A (2,5A to be safe) and that the LM2596 is cooled in some way.
If you add some cool tech to the printer, just let me know via Twitter! I’d be super interested!
Loud Fans?
If your 3D Printer fans are really loud, I recommend checking out this guide on how to lubricate the fans and heal bad bearings.
