
Thunk3D Jewelry 3D Scanner Review
The Thunk3D Jewelry 3D scanner promises incredible resolutions and accuracy for 3D Scanning. But is it any good? and what can you use it for?
Let’s start of by explaining that this 3D Scanner is made for scanning small items. we’re talking the size of a ring. You can scan up to 80mm, but that is maximum.
That really narrows down the potential in this scanner. It’s aimed for jewelry and tiny sculptures and such. But to be honest, it works equeally great for anyone who want to scan small mechanical parts.
For larger parts, Thunk 3D have the Cooper M20 and Fisher S that I’ve tried as well.
Before we dig deeper, let’s have a look at the specs!

Thunk3D Jewelry 3D Scanner Specifications
Camera: 2x 1.31mp CMOS
Raster/projection: 1280x1080 DLP
Scan Volume: 5-80mm
Scan Speed: ~3s/frame
Resolution (mesh): 0,06mm/triangle
Accuracy: <10 um
3D Formats(export): STL or AC
PC requirements: Nvidia Graphics >2GB vRAM, Windows 7 or better.
Scanner Setup

You get two options to mount parts in the Thunk3D Jewelry 3D scanner.
The first option (left in picture) is a mini vise that will clamp your part. This is optimal for single-object scans.
The second option is the multi-scan tray that has a bunch of numbered holes in it. Add some puddy(?) to secure a few items, like rings for example. The numbers will be tracked into 3D and you get a STL for each number (named accordingly).
This is very clever for high throughput scanning. It does add some shadows to some scans, so you might have to add extra scans in the software to cover everything.
The center piece is the calibration plate that you want to use every time you change the temperature/environment or placement of the scanner.
To start scanning
To start scanning with the Thunk3D Jewelry 3D scanner you first mount your part inside the machine and create a new project.
You get a few options to choose Target, Scan mode and workflow. Basically you either choose “Onsie” or “Whole and parts”. The first aims to make one single volume, the second lets the software know you expect several volumes.
In Scan mode you have Single-item (also exporting 1 STL) or Multi-item scan which will use the targeted plate seen above, that makes individual STLs for each part/ring.
In workflow, always go with HD Scan, that will get you maximum resolution.
When you accept your project settings you’ll have to adjust exposure (under the grey Picture-in-picture above) and the cut-off height for where the scanner wont scan.
This cut-off height is to avoid accidentally 3D scanning parts of your jig/holder for your part.

During scanning the Thunk3D jewelry 3D scanner will rotate the object in 2 axis for you. This means it will reach almost every single area of the object you’re trying to scan!
In addition, if you wish to add angles that the pre-programmed angles didn’t reach you can always click “add scan” and turn the viewport camera to the right position, where the scanner will grab a new angle for you.

You can also rotate the object after a scan to cover the underside. If the scanner can’t align it automatically you can help it by placing targets on each model to assist with identical areas. Note the orange sphere marking a feature.
When you’re done aligning, the software will mesh the file for you, creating a STL file ready to bring into post processing where you can smoothen out any defects, or start sculpting variations of your design.

3D Scanning results
The resolution and accuracy of the Thunk3D Jewelry 3D scanner is nothing short of incredible. The amount of detail you can capture is like nothing else i’ve tried!
You can scan some incredible items! Just have a look below!


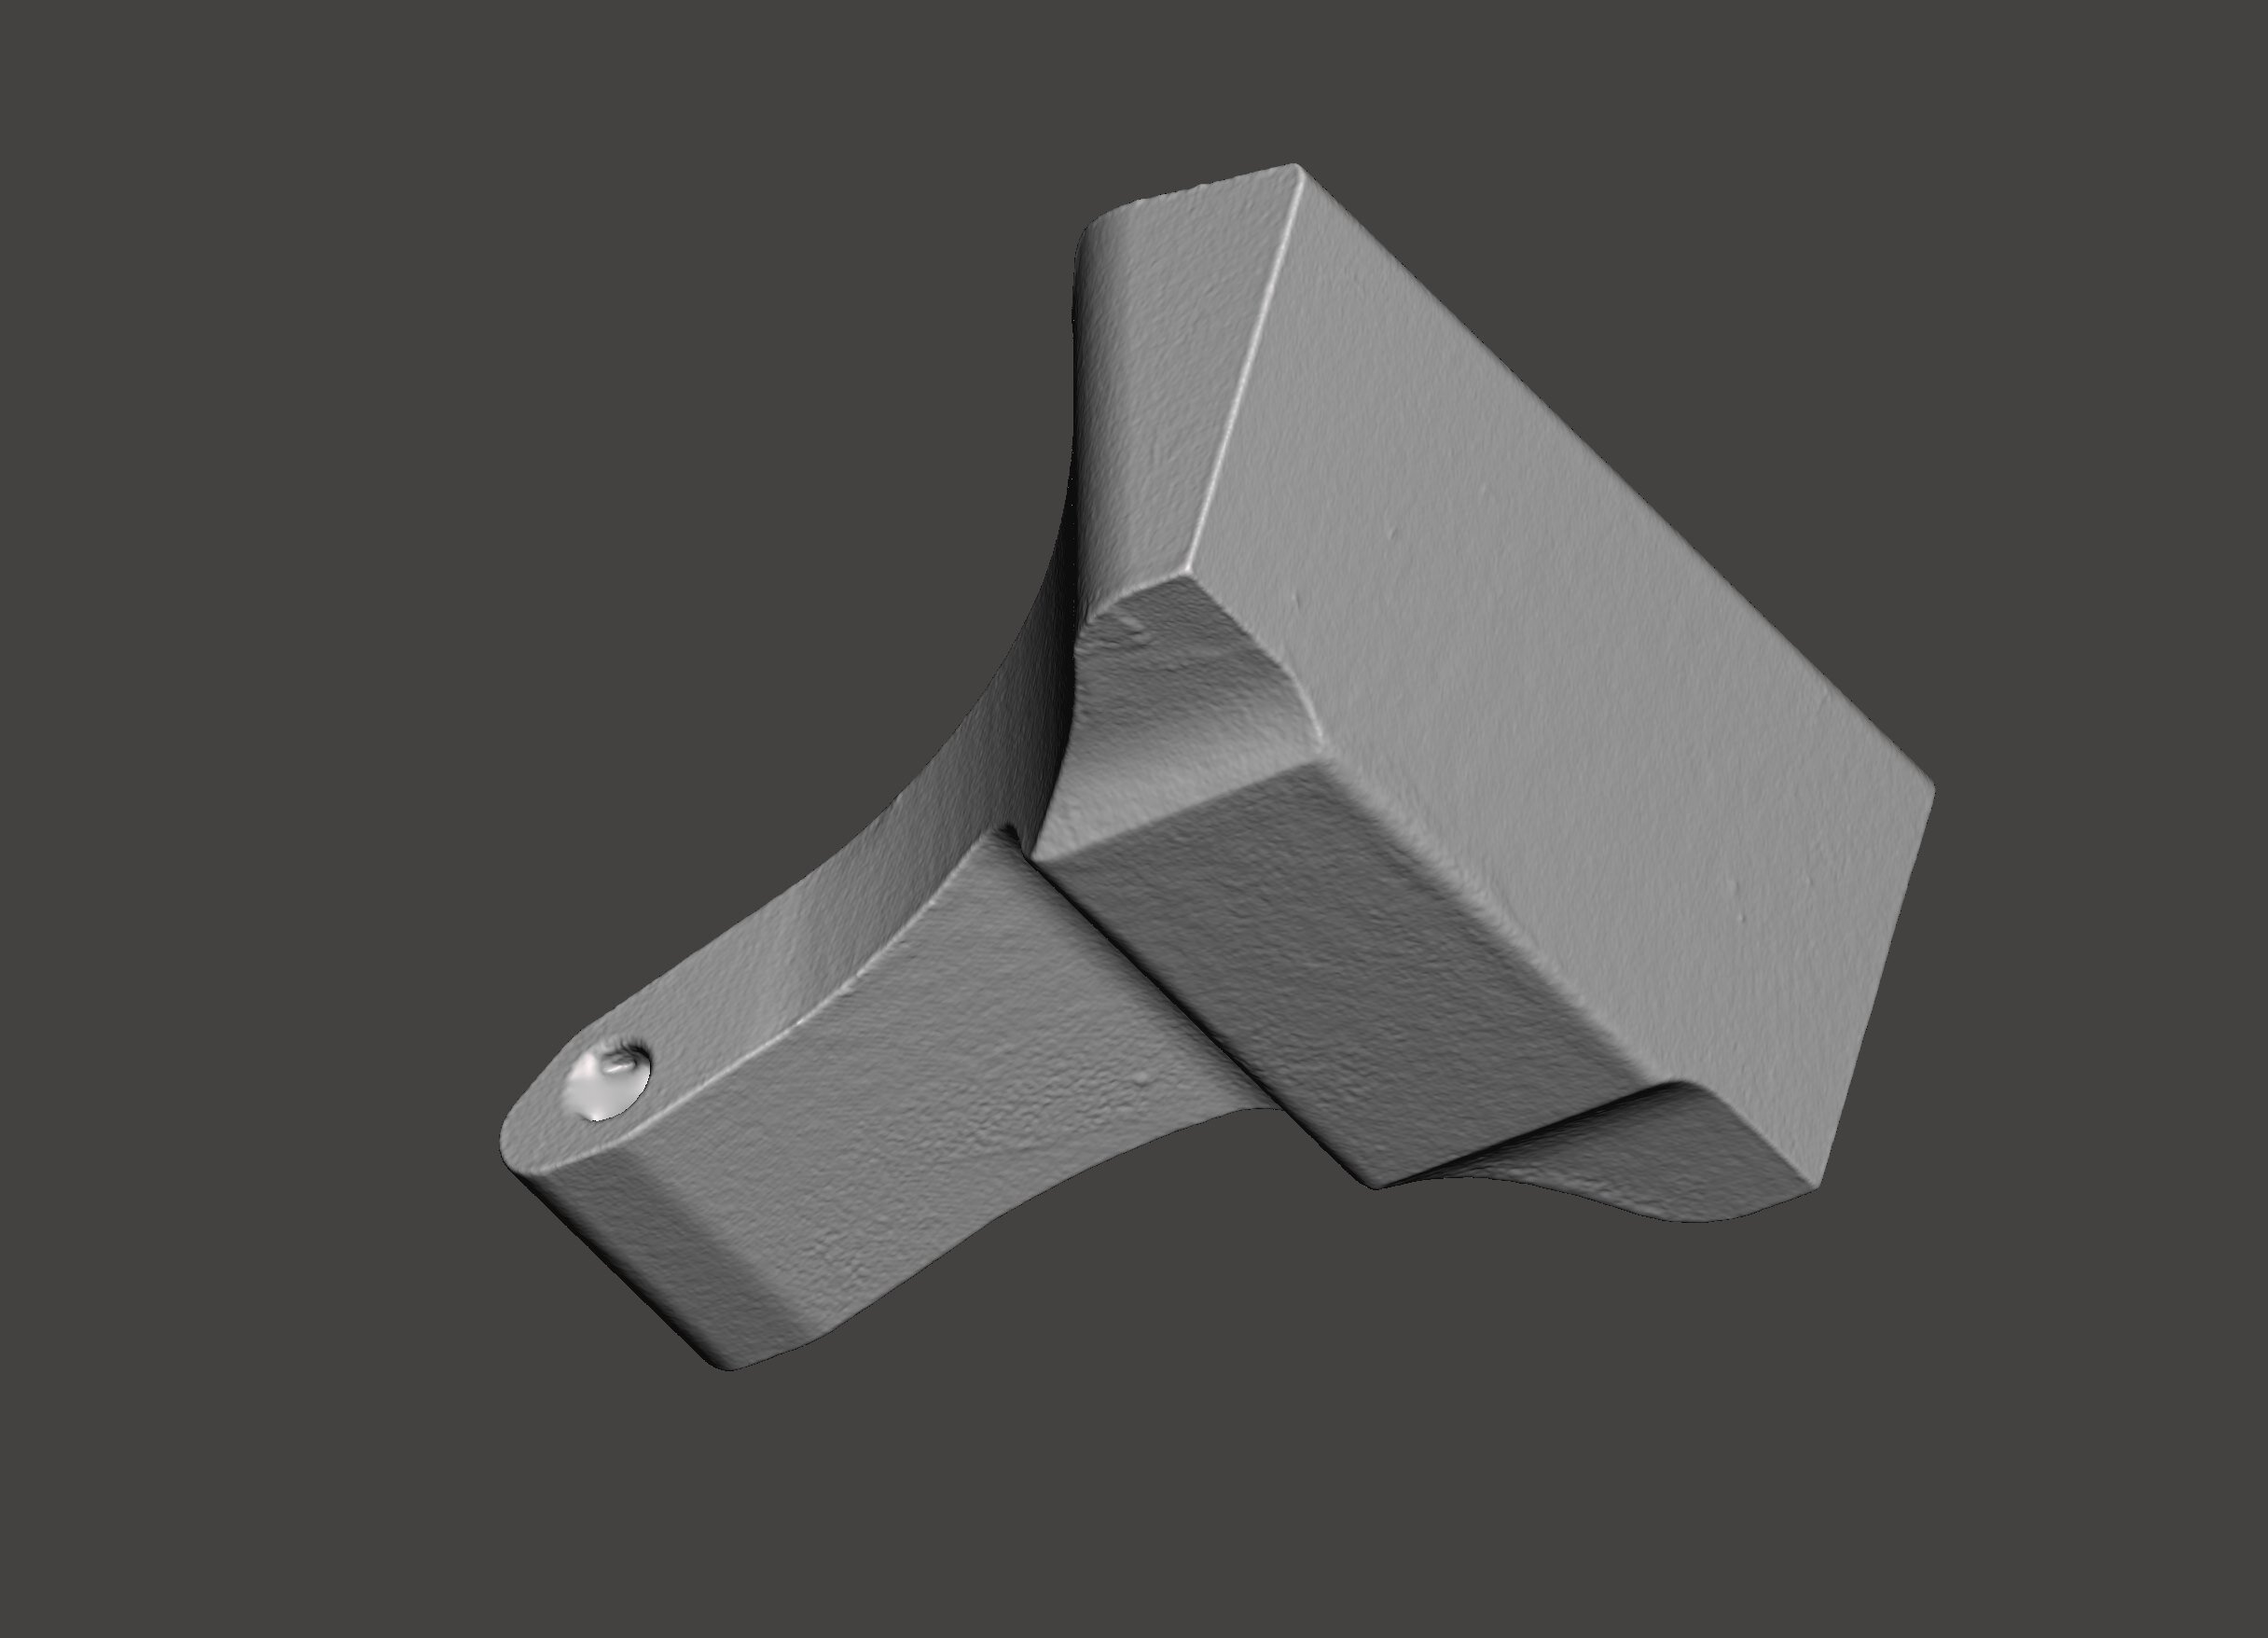

The result is so incredible detailed that I can use it to do deviation analysis on products created with CNC machining or 3D Printing (metal).

Samples for you to download
These samples are directly out from the scanner. No post processing, except for aligning them better.
Use them to practice sculpting, post processing or just to check out!
Files are released under CC BY-NC-SA. That means you can remix, adapt, and build upon the work non-commercially, as long as your credit me and license any new creations under the identical terms.


Let me know if you have any other questions!
Comment below!
Make sure you subscribe to the Youtube channel and sign up for my newsletter to get monthly summaries of stories/videos and articles that may help you become a better 3D Printing or 3D scanning operator!