
How To Choose 3D Scanner
Buying a 3D Scanner is difficult. There are many options in different price ranges that all seem to promise perfection.
In this article I help you identify your needs, explain how accuracy and resolution actually works, and help you narrow it down to what type of scanner to focus on.
What IS A 3D Scanner?
To help you buy a 3D scanner I should make sure you understand what it is. It’s important to set expectations.
A 3D scanner takes real world objects and digitize them. It can do this using a few different technologies like structured light (that we’ll focus on), Laser scanning, photogrammetry among others.
The end result is most commonly a 3D model file, like an .STL, .PLY or .OBJ file.
It’s important to understand that 3D scans are exported as triangulated mesh and not easy to use for just any type of 3D application. Depending on what your needs are, there are different workflows and those require different hardware or additional software to make sense.
As an example, some use 3D scanning to just verify a real-world position on a part. For example that a drilled hole is in the correct place and angle. While others 3D scan to create a colored copy that can be displayed in a viewer like Sketchfabb below or in an game engine.
Where Do We Start Deciding A 3D Scanner
3D Scanners comes in many shapes and forms.
The first thing to try to decide is what scanning area are you working in.
3D Scanners are almost always “locked” in a operating range (scanning volume). This is because the optics (usually 2 cameras and a projector/laser) are calibrated for a certain focus area and field of view. See image.
3D scanners that are handheld can move that operating area/volume around, to effectively increase the total volume that can be scanned, usually at a cost of accuracy.

3D scanning object size determination
Try to picture what size of objects you’re scanning, and the overall volume of the object.
Small (5-50cm) or Medium (50-150cm) or large (150-500cm).
We will also cover Tiny (0-5cm) and huge (5m+) as well.
All of these sizes will be referenced throughout this article and my 3D scanner reviews.

Decide If You Need Handheld 3D Scanning
Handheld 3D scanning is great for many applications, since you can reach more areas, angle the scanner in ways to capture “deeper” into crevasses. You have more flexibility when it comes to scanning volumes and type of objects.
They usually require a bit more planning from the operator, and accuracy drops a bit. It can also become very demanding on your computer/device to process the data. You end up with more “mistakes” and errors where you might have to rescan.
The price have traditionally also been much higher for handheld scanners.
Stationary 3D scanners often have the benefit of higher accuracy and resolution. They can be automated and scans more efficiently if they use rotation as a parameter for the tracking. So less data per scan. They are very often limited in how large objects they scan. Stationary scanners are almost always better at smaller objects, say below a shoe in size.
Stationary scanners have traditionally been cheaper, as they have less requirements for live-tracking.
Important: Many handheld scanners have addons or modes to enable stationary 3D scanning. For some, it improves accuracy, for some it’s more about automation and has no change in actual scanning algorithm/tracking.
3D Scanning Textures
Now is a good time to talk about textures and if you need it.
Textures means that you also capture color on your objects. However, it’s not really as simple as that.
Texture 3D scanning makes most 3D scans appear fantastic, but the actual 3D-data (the mesh) might be deceiving and actually be terrible.
Funny thing this, because for some (for example game developers) you might want a low-poly-easy-to-use mesh, and have great texture mapping.
Just be aware when looking at 3D scans, that the texture may fool you on what geometric details you actually get from the 3D Scanner, since you’re just looking at the colored details.
Texture workflow drawbacks
Textured files can be generated differently depending on software, and the end result can be more useful, or almost useless depending on how the color is mapped on to your model. Editing textured 3D scans can quickly become “impossible”, depending on how that particular scanners software work.
Editing colored scans after export can also be incredible difficult. So if you need textures, you should really aim for a 100% captured/covered scan of an object, because filling holes will often skew the textures and generate weird artifacts.
For some applications like digitizing art/museum items or people, texture could be critical. While for reverse engineering, it may just be an “expensive” bonus.
Understanding 3D Scanning Resolution and Accuracy
By now you should understand the difference between 3D scanners volume, handheld and stationary scanning with and without texture. But how good are they?
3D scanners use two main values that you use to decide “how good” they are. At least when marketed. Resolution and Accuracy. Similar to that cameras are measured in megapixel. These values matter, but not simply by “more is better”.

Resolution is how close two 3D points can be generated in a single scanned raw 3D image.
Usually resolution is measured/calculated by the 3D scanner manufacturer at an optimal scanning distance on a perfect object in an synthetic scenario. Most manufacturers list the best possible resolution it will export/generate. But it happens a manufacturer uses the resolution a scanner use during registration of data (per frame for example).
For a real-world scenario the resolution we want and really care about is the mesh-triangulation when we use or export or use 3D file. These files are triangulated meshes where each triangle has 3 sides, and the value refers to how small one side can be. For example 0,05mm.
As mentioned, resolution in marketing can be misleading. The mesh is generated based on a point cloud of thousands or millions of 3D-points that are scattered all over the object you’re scanning. And although you may get that 0,05mm resolution between raw points, those are most often not what you use in the end, as you will almost always wrap a new mesh surface over the raw data.
When you add in errors of aligning scanned images (specially with handheld scanners that can use hundreds or even thousand images) you end up with tons of overlap, alignment error and optically skewing of the raw data. This has to be processed before meshing.
During processing, the software has to filter out points and create a new “refined” point where there is the most overlap in the same area. This is where many “fusion" or mesh-resolution settings come into play, where you for example use 0,15mm mesh resolution for the new mesh generated.
This means that already before you mesh, there are compromises being made to the data. Those sampled single points are then what makes up the corners of each triangle during meshing.
This compromise in generating mesh can be particularly visible at sharp edges. Since you won’t project a pattern on a knives edge, there won’t be any raw-data either. So all “perfectly sharp” edges in real world, becomes slightly rounded when you mesh it. Some software can detect and improve the “edge sharpness”, but the tolerances/resolution is therefor skewed.
So although you might have 0,05mm resolution as an option, it’s the accuracy of that raw data that matters for most technical applications. Although the mesh dictates what details you can “see” later on when exported.

Accuracy refers to how precise 3D points are actually generated.
So in a perfect world, accuracy would be 0, where you don’t have any tolerance/misalignment towards the real world, which means that every 3D point created is perfectly positioned compared to the real object.
In practice your accuracy depend on how good your software and hardware collaborates. A cheap optical lens, with a cheaper projector, and a software optimized for user friendliness, without registration markers will have much higher tolerances to register a 3D point. Therefor the accuracy of that 3D data drops significantly.
For example accuracy of a high-end scanner can be 0,1mm over 1m based on a reference model. This reference is probably perfect for scanning and at a fairly optimal size for the scanner. So accuracy will only decrease (get a higher value) in the real world.
Accuracy in practice
When you add more 3D scanned images (to actually capture a full model) each of those images will not be perfectly aligned/overlapped. So most 3D scanning manufactures also add in a “distance error” or “accuracy over distance”. For example 0,3mm/m. This means that for every extra meter distance scanned, you end up with on average 0,3mm error.
On top of that, scanning large objects then requires even longer distances scanned. If you have to scan 100x100cm area using a scanner with 40x40cm field of view. You have to travel at least 1m 3 times (to get some overlap). This results in 3m scanned distance, to cover 1 square meter. Using the data above, this means you have around 0,1mm + 0,3mm/m over 3m = 1mm accuracy. Not bad for a square meter, but not 0,1mm either.
Illustrating the distance that a 3D scanner would have to travel to cover 1 square meter.
Mixing Accuracy and Resolution
For someone in metrology or high-end reverse engineering, it might be more important to know that (for example) two sides of an object are as accurate as possible, than to have the resolution of a human hair. Take a cube of 100x100x100mm with a 25mm diameter hole.
You could measure the dimensions of that box with only 10 mm mesh resolution as long as the accuracy is good, and still be able to determine if it’s parallel.
However, measuring the diameter of the hole becomes very difficult unless you add resolution to help with generating a diameter on the average position of mesh.
See illustration how meshing in high/low res skews hole dimension.
This illustration is exaggerated
The grey dashed circle is the real diameter hole we’re trying to 3D scan.
With a lower resolution of meshing and a far from perfect coverage, we may end up with a meshing of that hole that looks like our yellow jagged line.
In a third party software, we’re trying to generate a cylindric hole inside of that mesh, to measure hole position or diameter. Both of which will be wrong.
Even if we compensate in the later software, and measure diameter (or know it), the center/location of the hole is still incorrect.
The Resolution Paradox.
You want maximum accuracy and high resolution obviously. Let’s say you can afford it..
Then you’re going to ruin your data-management almost instantly. If you try to scan a car with 0,001mm resolution you’re going to need to raid some data centers for drives. The amount of data will be insane, and too much to handle.
You also don’t need to have all “flat, simple surfaces” in full resolution, for example if your task is to measure gaps between panels or simply the total length of the car.
You want to find a sweet spot, where the type of objects you scan (size and complexity) pairs up with the resolution your end-use of the data requires, while keeping a tolerant accuracy.
Remember more accuracy also means less wiggle room for objects that wiggle… Like a person breathing or heart beats actually moving your body slightly.
3D Scanner Budget
To find our sweet spot we need to introduce budget. You probably know what type of 3D scanning you want to do now, and to find the sweet spot for your needs, we’re going to have to add budget as a factor.
3D Scanners are expensive. At least they have always been and it looks like they will continue to be. But you have never had more options than now, to balance your needs and find budget options. Just be aware the budget options are extremely aggressive in marketing and have made compromises in the other areas.
3D Scanners that scan huge areas like buildings and airplanes may be very expensive. If you also need resolution, and more importantly accuracy, these quickly becomes more expensive than cars or even houses. But if you “only” need volume at those scales, and require less on accuracy and resolution, you can do it using photogrammetry, at the cost of a camera basically.
Just like accuracy and resolution, texture or not, handheld or stationary, budget is part of an overall compromise, where you can’t get everything you want.

Saving money or time?
As an example you could spend more time and computing power to achieve a near perfect photogrammetry solution to be precise and accurate comparable to a stationary scanner for 10x the price. But, did you value your time? Can you apply this workflow on another project, or do you have to spend 10x time next project as well?
These are all tradeoffs that makes some expensive scanners, although not “better on paper” actually make more sense for anyone using them part of a business.
Value your time - or just play!
This is the final thing you should consider. Are you doing this for fun? is 3D scanner just another nice-to-have tool in your toolshed? or are you actually trying to make a business out of it? Again, please reach out to my free consulting if you’re a business and I can help you choose for your particular workflow.
But in general, cheaper is more important for someone who use scanning as hobby and don’t see their time as money, but as entertainment. Today both handheld and stationary scanners can be purchased for just a few hundred bucks, but they are quite honestly promising a bit too much and you have to adjust your expectations.
Which 3D Scanner should you buy?
If you reach out to my free consulting I can help you pick more accurately. But in general, for hobbyist who are looking to play, there are budget options that are really OK and that I’ll list below. I’ll update this list every now and then to be accurate to what’s available on the market.
Note that I may use affiliate links in my recommendations below. This only means that if you order, I may get a commission from the store/manufacturer but it won’t cost you anything extra. This don’t affect which products I choose to place here.
For more thorough opinions on scanners, check out the ones I’ve reviewed here.

3DMakerPro Moose Lite- Lowest Budget Option
The 3DMakerPro Moose Lite builds upon the SEAL and is offered as a really cheap scanner for “3d-printer-sized-objects”.
This scanner promises quite a lot when it comes to specifications so remember what you learnt earlier in this article.
If you’re curious to learn more, check out my full video review where you can see tons of examples and learn more. That review is available here: https://youtu.be/HtdORLcyq4w
This scanner is incredible affordable at MSRP of $399 including software and all you need to start. It’s also often discounted, which you can see through the button here. If it’s not on sale you should be able to use my discount code: “3DPT15” to save $15.
This is a really cheap, fun option to start experimenting with 3D scanning and learning a ton!

Revopoint Range - For medium/large objects
If you’re into scanning people or just larger objects, and are on a budget, the Revopoint Range is a very capable alternative to the EinScan Pro and Artec EVA for professionals.
It’s capable of scanning a person, a car, parts of a car or furniture for example. It’s not for “huge” objects, just medium/large, which still covers a lot.
Thanks to the large capture area of up to 400x875mm at it’s maximum working distance of 800mm (optimal is 600mm distance with 360x650mm scan area) you’re capable of tracking large areas and quickly move along a large object. Naturally, resolution and accuracy at this price will drop.
But for a MSRP of $779 this is priced at 1/10 or 1/30th the price of some (much more accurate) alternatives in this working area. Again, Revopoint is known to use discounts during holidays, so check out the button. You might also want to check out the Reveopoint POP 3 for smaller objects.

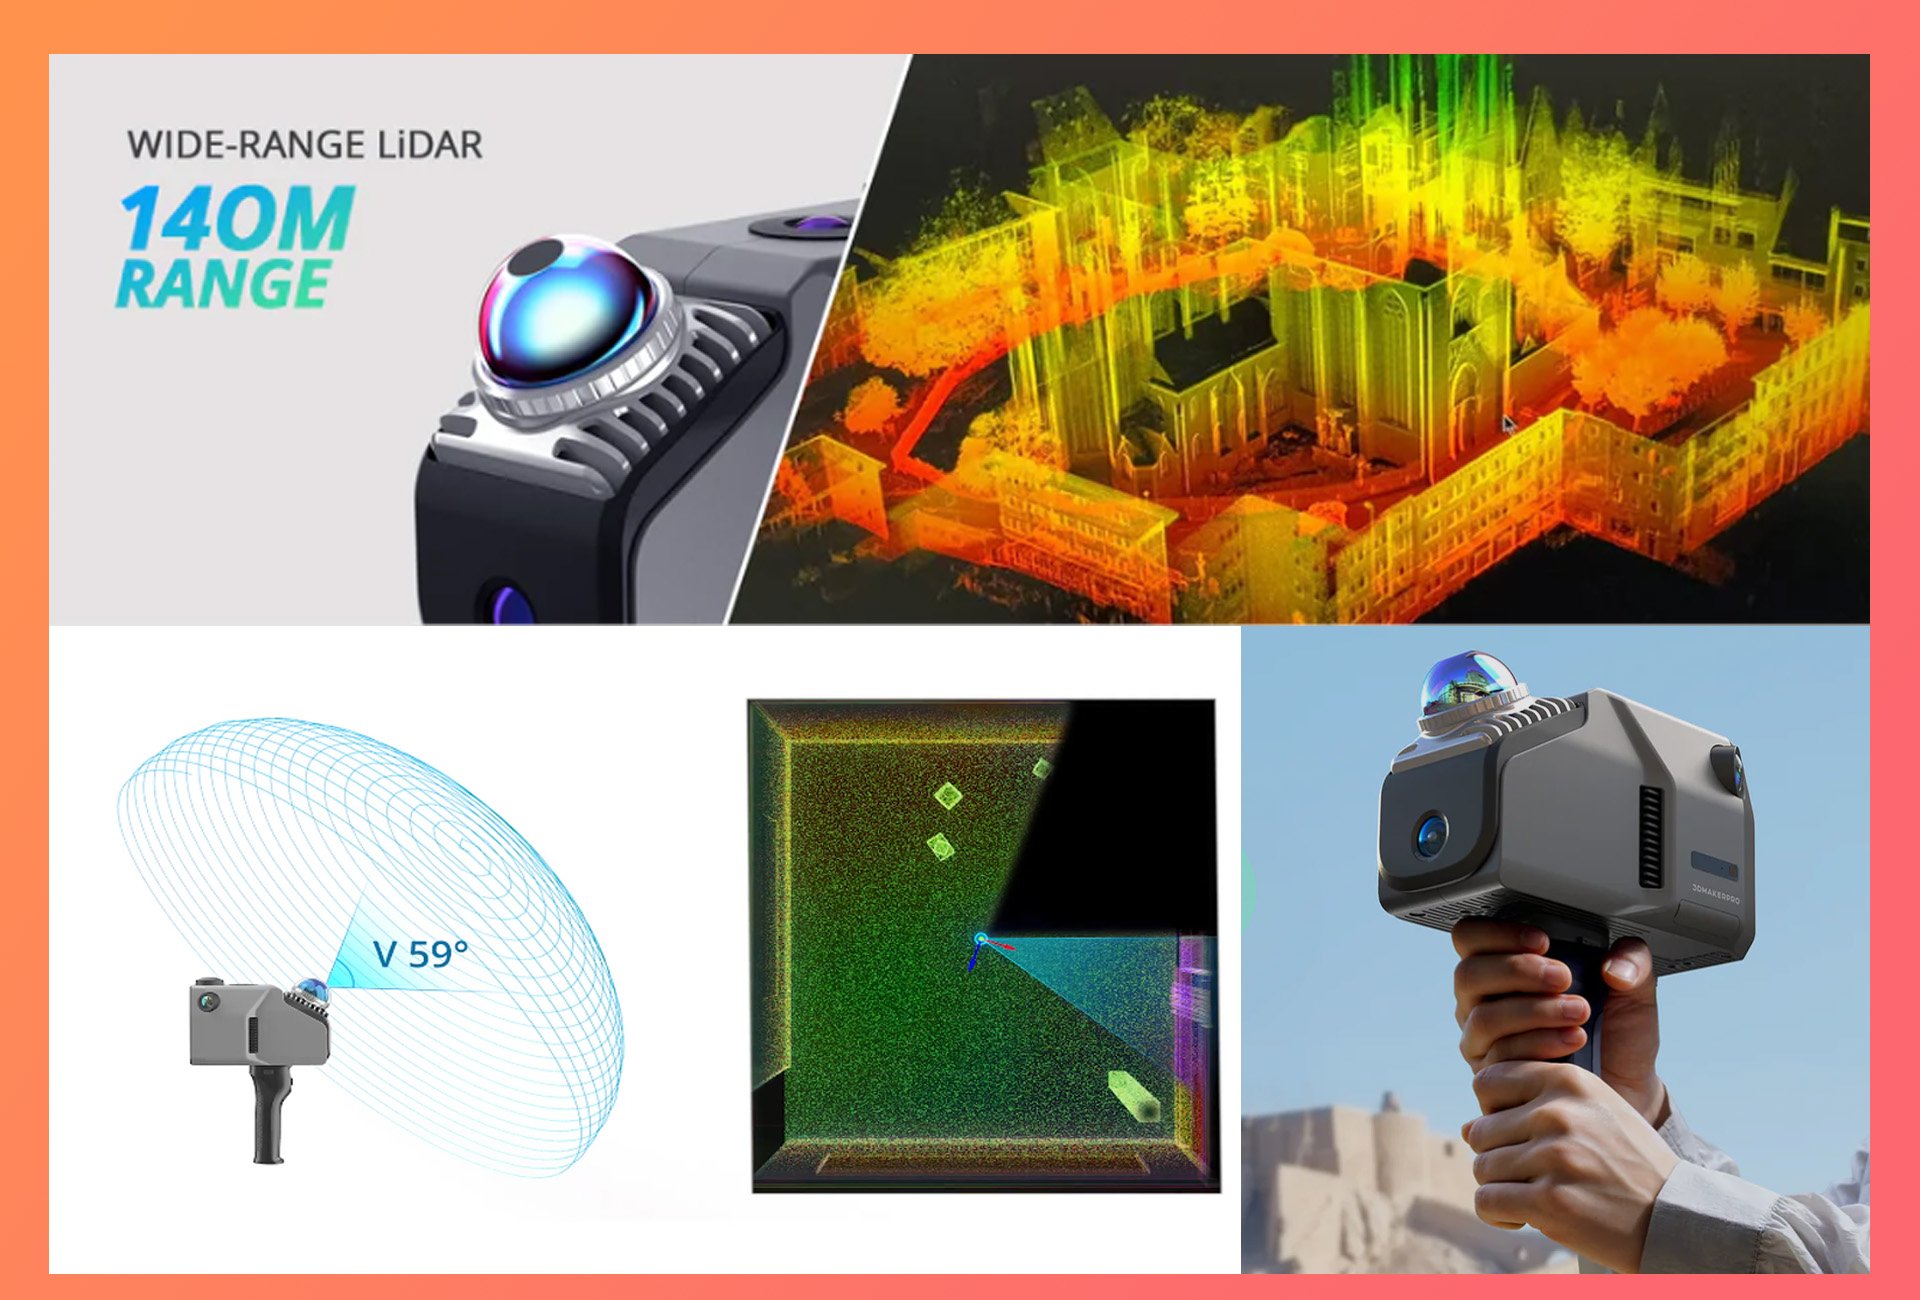
Creality Raptor Laser 3D Scanner - Professional at a budget
The new upcomer Creality Raptor 3D scanner is incredible versitile and offers precise laser 3D scanning with markers, something that usually costs 5-10 000 USD or more.
The Creality Raptor have both laser scanning and structured light to let you scan with or without markers depending on your projects.
This scanner is defenitly the best you can get at still “reasonable” prices for beginners. I explain more about why this is such a fantastic prosumer 3D scanner and why it’s worth the extra money compared to the lowest budget options in this article.

EinScan SE 3D Scanner
One of the better scanners I’ve had the please of using is the EinScan SE (or big brother “SP”). They are extremely easy to use and provides great scanning combined with a very good software. The software controls the scanner and turntable, and they work together to increase accuracy of the rotation, meaning far less frames to process to get a great scan.
The EinScan SE is a bit outdated on both price and age, but I find its performance and sharpness to still be competitive, all but a bit “narrow” in terms of how the competition are more flexible and may offer handheld scanning modes.
But for more professional users who just want to quickly, automatically scan tons of small (up to 20cm objects) this is a great choice. Priced at around $1900, but exact price can be seen through the button.